Maximize Your Meta Quest 3 and 3S Experience: A Complete Guide to Choosing the Right Model and Essential Accessories
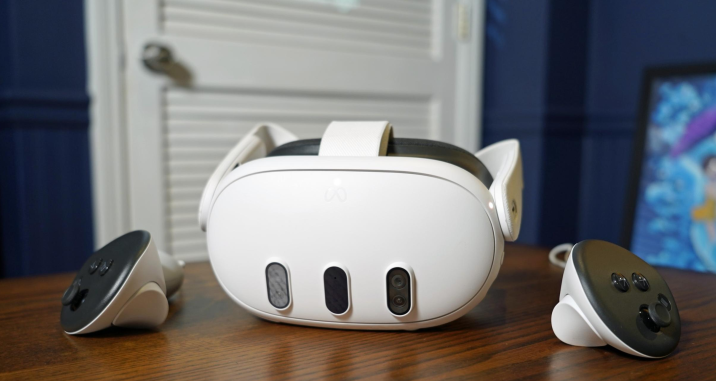
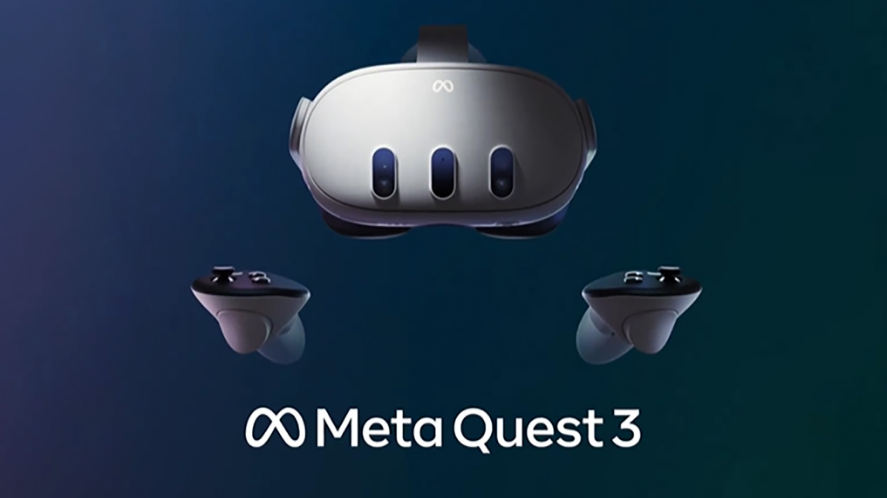
The Meta Quest 3 and Meta Quest 3S are two of the best VR headsets out there right now, offering immersive gameplay, sharp visuals, and lots of flexibility. But which one should you get? And once you’ve made your pick, what upgrades will make your VR experience even better?
As someone who’s spent hours with these headsets, I’ll break it all down for you—including the key differences between the models and why a silicone facial interface and charging station are game-changing additions to your setup.
Meta Quest 3 vs. Meta Quest 3S: What’s the Difference?
Let’s start with the basics. Both the Meta Quest 3 and 3S are fantastic devices, but they do have some important differences. Here’s the quick rundown:
| Feature | Meta Quest 3S (128GB & 256GB) | Meta Quest 3 (512GB) |
| Resolution | HD | 4K |
| Field of View (FOV) | 96° | 110° |
| Battery Life | 2.5 hours | 2.2 hours |
| Storage Options | 128GB, 256GB | 512GB |
| Best For | Casual users, PC VR users | Enthusiasts, standalone users |
So, what does this mean for you?
- If you’re a casual gamer or mostly use PC VR, the Meta Quest 3S (either the 128GB or 256GB version) should suit you just fine. It’s affordable, has solid battery life, and the HD resolution is perfectly respectable for most games.
- If you want the best visuals and immersion VR can offer, the Meta Quest 3 with 4K resolution and a 110° field of view is the clear winner. It’s also the way to go if you want to build a huge game library, thanks to its 512GB storage.

Battery Life: Does 0.3 Hours Really Matter?
Let’s talk about the difference in battery life. The Quest 3S gets 2.5 hours, while the Quest 3 clocks in at 2.2 hours. Honestly, it’s not a huge gap, but if you tend to play longer sessions, those extra 18 minutes might matter—especially if you’re deep into a game or a workout app.
Must-Have Accessories for Your Meta Quest 3 or 3S
Once you’ve chosen your headset, it’s time to make it more comfortable and practical. Here are the two upgrades I highly recommend:

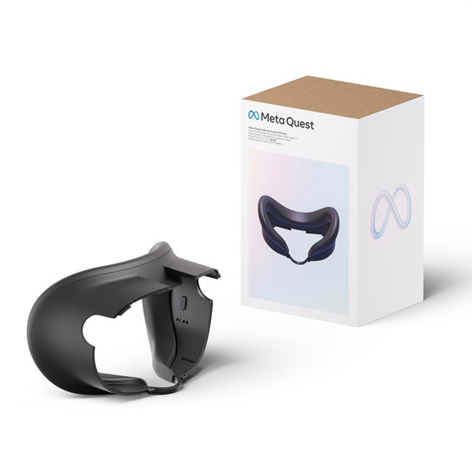
1. Silicone Facial Interface
Let me be real— the stock foam facial interface that comes with the Quest 3 and 3S isn’t great. It’s scratchy, it can irritate your skin, and after a sweaty gaming session, it can get downright gross. That’s why a silicone facial interface is a total game-changer.
Why You Need One:
- Comfort: Silicone is softer and feels way better on your skin, especially for long sessions.
- Hygiene: It doesn’t soak up sweat, and you can just wipe it clean with a cloth or disinfectant wipe.
- Durability: Unlike foam, silicone won’t wear out or flatten over time.
- Perfect for Glasses Wearers: Many silicone options include extra space, so you’re not squishing your glasses against your face.
Seriously, upgrading to silicone isn’t just about luxury—it’s about making your VR sessions enjoyable and irritation-free. Your face will thank you.
2. Charging Station
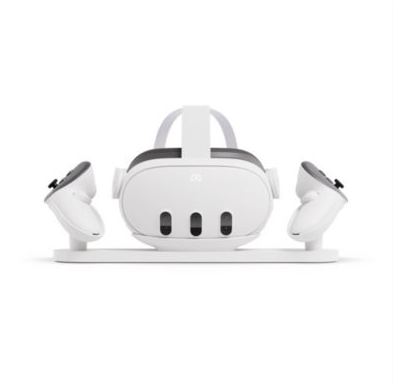
Let’s face it—no one likes dealing with cables or dead batteries. A charging station not only keeps your Quest 3 or 3S charged and ready to go, but it also keeps everything organized.

Why It’s Worth It:
- No Cable Chaos: You don’t need to dig around for chargers or untangle cords every time.
- Always Ready: With your headset and controllers charging in one spot, you’re always ready for the next adventure.
- Organized Setup: A sleek charging station keeps your gaming space tidy.
- Battery Health: Properly designed stations optimize charging cycles, which can actually extend battery life in the long run.
Look for a charging station designed specifically for the Quest 3 and 3S. Some even include magnetic docks or LED indicators to show when your gear is fully charged. It’s a small upgrade that makes a big difference.
Putting It All Together
If you’re diving into VR with the Meta Quest 3 or 3S, a little extra investment can go a long way. Here’s the winning setup:
Pick the right model based on your budget and needs:
Go for the Meta Quest 3S if you’re fine with HD visuals and want to save money.
Choose the Meta Quest 3 if you’re after the best resolution, FOV, and storage.
Upgrade your comfort with a silicone facial interface to avoid irritation and keep things hygienic.
Get a charging station to keep your setup organized and your gear ready to go at all times.
By customizing your setup, you’ll create a VR experience that’s not just immersive but also comfortable and convenient. Trust me—your face, your battery, and your gaming sessions will thank you.
Share this content:


Post Comment